Finally, my favorite, Tigger.
Again, I was not able to find a tutorial for Tigger so I winged it. I hope this helps anyone else out there searching for some guidance like I was.
For Tigger I used orange fondant mixed with gumpaste for his body. A mixture of yellow fondant and gumpaste for his light yellow tummy and black fondant for everything else.

I made a fat , stubby carrot shape out of a large ball of orange for his body . Insert a skewer through the top of the body to attach the head later.
Then I made his legs the same way I did on all the other figurines. Slightly pinching up some fat little feet at one end of the rope and cutting the other end at an angle to attach to the body. Make 2.

Attach legs to the body with gum glue.

I rolled an elongated egg shape out of the yellow fondant and gum glued that to Tigger's tummy.

Next were the arms. I made these the same way I made the legs except do not pinch the ends for feet. Leave ends rounded for his paws and make them a bit longer than the legs.

Attach to the body with gum glue.
Roll out some black fondant quite thin, then cut in very thin strips. Trim edges to points and gum glue to the sides of his body , arms and legs.

Next I made his tail out of a rope of orange fondant. It is rounded at one end with a ball of black for the tip and attach more stripes.


Time for Tiggers head.
I took a large ball of orange fondant, rolled it into an oval and then with my thumb flattened a ledge ( yeah, that almost makes sense...uuughh, I don't know how to describe this step, hopefully the picture give you a better idea )

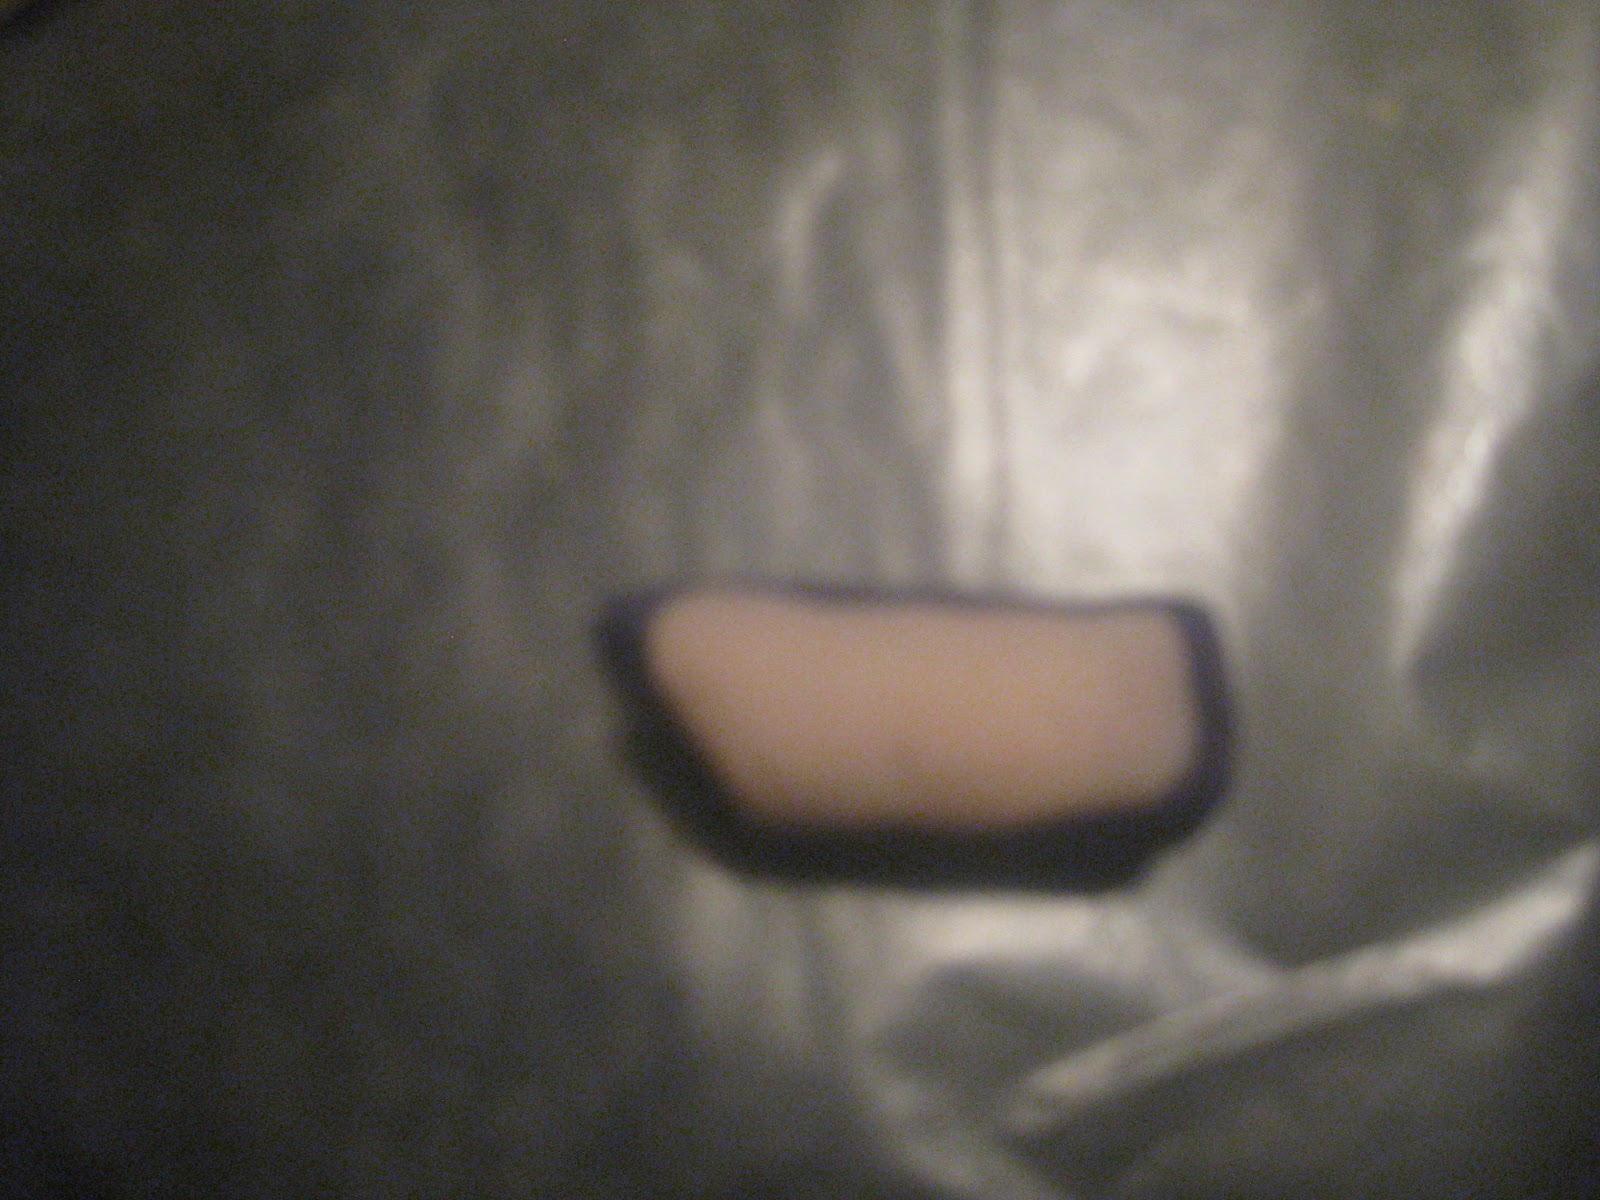
Then I rolled out some yellow and with my Exacto knife cut this shape. No idea what to call it, but it should be the same length and width of his head.

Flatten and smooth to his head as I have in the picture below. Make sure it extends all the way down the sides of his nose.

With the handle of any of the fondant tools make a deep indent in the front of Tiggers head. This will be his mouth. Below is a side view of this step. My index finger are where his eyes will be.

Roll a small ball of pink fondant for his nose and attach with gum glue. Also, add some stripes to the sides of his face.

Roll 2 small orange fondant balls. Using the small ball tool make indents and pinch 1 end to form a tear drop shape.

Place 2 really small balls of yellow fondant in the indents of his ears and press flat to smooth.
Roll 2 very small balls of black fondant for eyes and attach with gum glue.
Roll a very thin black fondant rope and cut into 2 tiny little pieces to form his eyebrows.

Finally attach his head to his body by placing on the skewer.

Again, I was not able to find a tutorial for Tigger so I winged it. I hope this helps anyone else out there searching for some guidance like I was.
For Tigger I used orange fondant mixed with gumpaste for his body. A mixture of yellow fondant and gumpaste for his light yellow tummy and black fondant for everything else.

I made a fat , stubby carrot shape out of a large ball of orange for his body . Insert a skewer through the top of the body to attach the head later.
Then I made his legs the same way I did on all the other figurines. Slightly pinching up some fat little feet at one end of the rope and cutting the other end at an angle to attach to the body. Make 2.

Attach legs to the body with gum glue.

I rolled an elongated egg shape out of the yellow fondant and gum glued that to Tigger's tummy.

Next were the arms. I made these the same way I made the legs except do not pinch the ends for feet. Leave ends rounded for his paws and make them a bit longer than the legs.

Attach to the body with gum glue.
Roll out some black fondant quite thin, then cut in very thin strips. Trim edges to points and gum glue to the sides of his body , arms and legs.

Next I made his tail out of a rope of orange fondant. It is rounded at one end with a ball of black for the tip and attach more stripes.


Time for Tiggers head.
I took a large ball of orange fondant, rolled it into an oval and then with my thumb flattened a ledge ( yeah, that almost makes sense...uuughh, I don't know how to describe this step, hopefully the picture give you a better idea )

Then I rolled out some yellow and with my Exacto knife cut this shape. No idea what to call it, but it should be the same length and width of his head.


With the handle of any of the fondant tools make a deep indent in the front of Tiggers head. This will be his mouth. Below is a side view of this step. My index finger are where his eyes will be.

Roll a small ball of pink fondant for his nose and attach with gum glue. Also, add some stripes to the sides of his face.

Roll 2 small orange fondant balls. Using the small ball tool make indents and pinch 1 end to form a tear drop shape.

Place 2 really small balls of yellow fondant in the indents of his ears and press flat to smooth.
Roll 2 very small balls of black fondant for eyes and attach with gum glue.
Roll a very thin black fondant rope and cut into 2 tiny little pieces to form his eyebrows.

Finally attach his head to his body by placing on the skewer.

T-I-double "guh" -errrr, that spells Tigger! |