Saturday, August 23, 2014

Bake a Difference

Recently I became a volunteer baker with a fantastic organization , Cakes Against Cancer.
My first cake was an urgent cake, for a little boy celebrating his birthday early . The doctors told his parents he would not make it to his third birthday which was two months away. 
I had 12 hours to come up with a superhero cake for this amazing little fighter. Somehow I managed to pull it off, but not without shedding a few( thousand ) tears. 
I hoped I would never have to do a heartbreaking cake again, although I am very honored to make these cakes, I just wish there was more I could do to help these children. 
It's a very helpless feeling, but the minute you deliver that cake, you realize why you volunteer to make them. Heartwarming doesn't even scratch the surface.

Last week I received my second call to action, again, an urgent cake. A little boy battling cancer who had been sent home with Hospice care a week before his seventh birthday.
Again, my heart broke. What got me through this cake was the theme. 
Hockey, but not just hockey... Detroit Red Wings hockey ! Being a Detroit girl, and loving all things Detroit ( except the potholes ) this was MY dream cake .

I never attended a Red Wings game despite living right next to where they played, but I have fond memories of ' hockey nights' and the Stanley Cup celebrations that breathed life into the city of Detroit.

I only had one day to make this cake happen so I had to design a cake where I could get away with only soft accents.
I decided on a hockey jersey cake. I had never made one before and was surprised on how easy it was.

I started out by making my templates.
I searched for athletic fonts until I found one similar to the Red Wings jersey font. Then I created the template on regular computer paper.
I made one template with his name and another with his favorite number ,13.


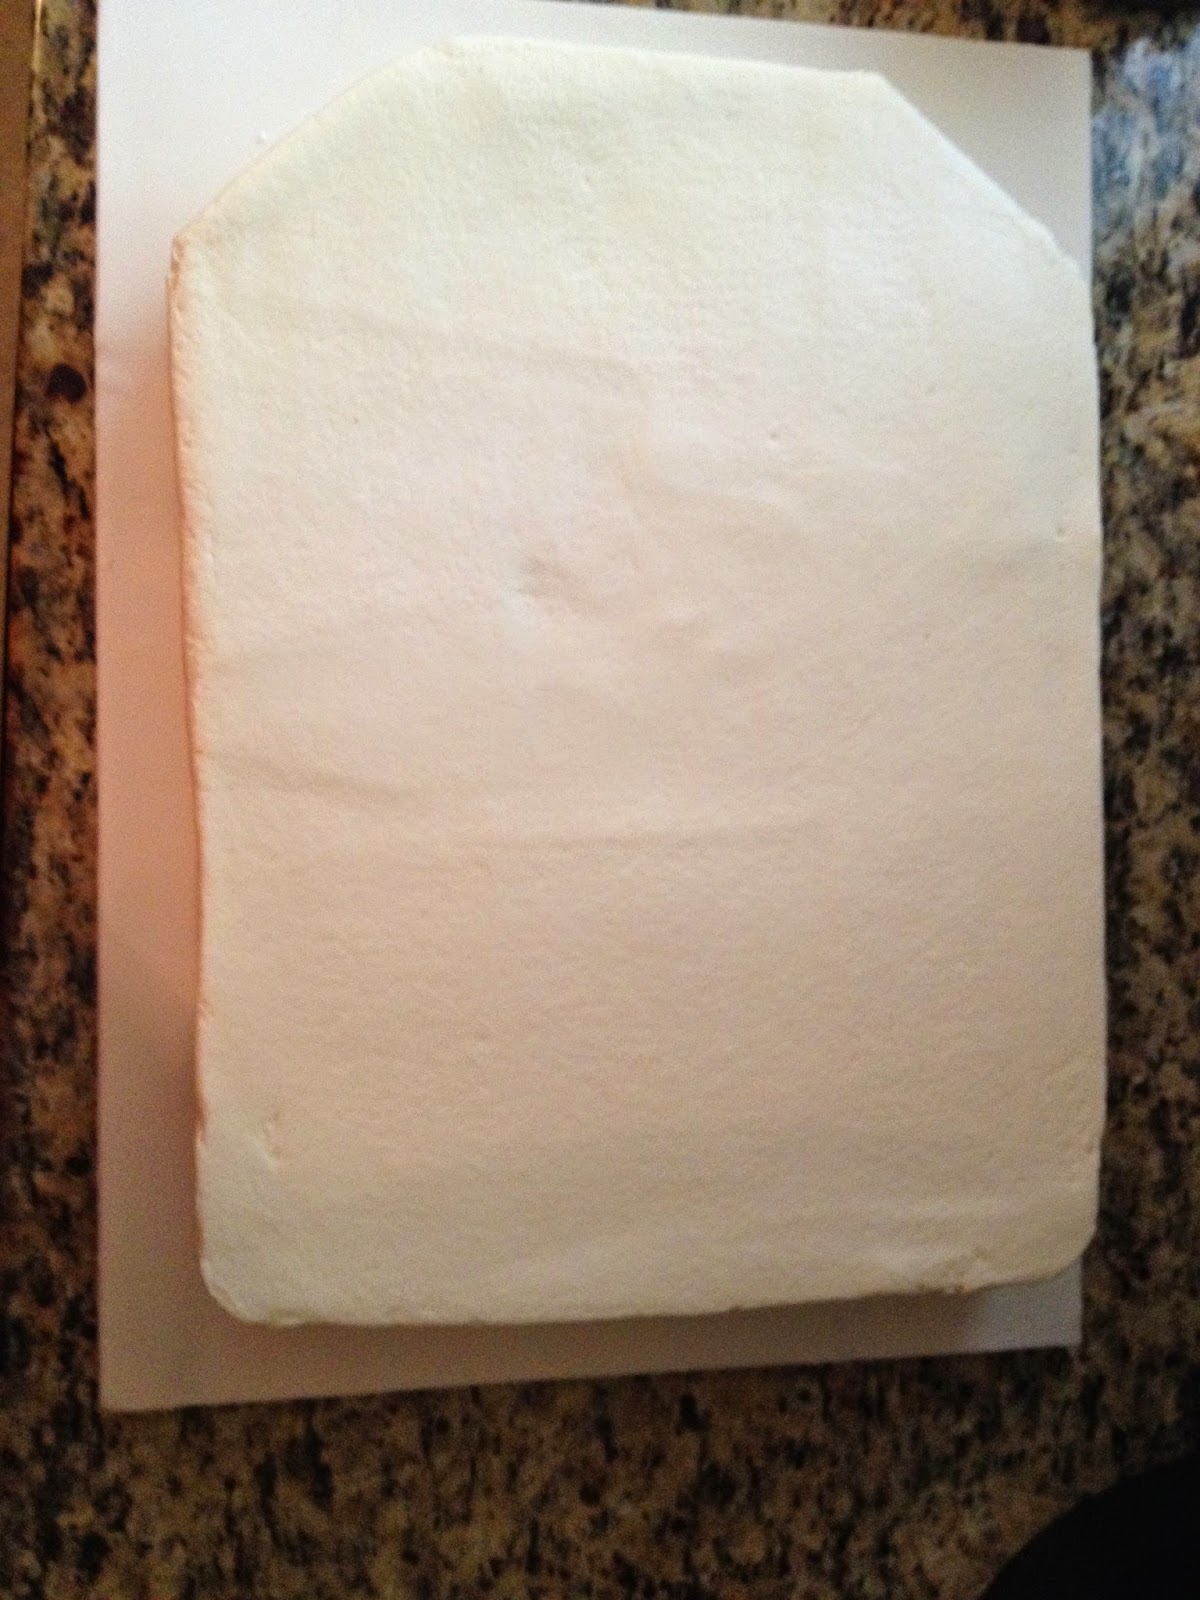
For the cake I baked an 11x15 sheet cake. 
Once it was cool I leveled it and cut off 2 corners to contour the shoulders.
Then I iced the cake with buttercream and smoothed it before covering it in fondant.


I decided on the Red Wings away jersey due to the fact I am ' away' from Detroit.
Once my cake was smooth I covered it with white fondant and smoothed it out.


I used a ruler to make a ' seam' towards the top of the jersey.


Next I cut a strip of red fondant for the stripe on the bottom of the jersey.


I used the templates to cut out his name and number using red fondant. 
I always flip my template over and cut in reverse. When I am done all I have to do is dampen the fondant and lay it in place while it is still on the wax paper. It eliminates trying to line up and perfectly space letters on the cake.


The Red Wings place the players name on a patch on the back of the jersey so I made a fondant patch .


I placed the letters on the patch and added a strip of red fondant for the collar.


The most important part of this entire cake is lining everything up even . Be sure to measure from the sides, top and bottom before placing any text on the jersey.

Once I had the lettering on the jersey I made the sleeves.
I rolled out more of the red fondant to just under 1/2 inch thickness.
I angled one end and squared off the other.


Place the sleeve on the cake, attaching it with a brush of water. Give it a wrinkle , and smooth the shoulder . 
I used another piece of fondant rolled into a ball and just kept rubbing the shoulder until it blended in with the fondant on the cake.


Repeat for the other side and decorate according to your teams jersey design.


This is a great cake for hockey or football jerseys. 
To make a football jersey just shorten the sleeves.
To add more Detroit to this cake I made a pennant out of an edible image attached to fondant, a fondant puck, and Stanley the octopus. 


The family was thrilled with this cake and just as I was plotting my retirement from cake, their reaction inspired me to keep caking .
If you are a baker, please look into volunteering your time for this great organization .
It's heartbreaking and heart warming all at the same time. 

Sunday, April 27, 2014

The Bachelorette

My friend Lauren is hosting her sister's bachelorette party.
I can't remember the last one I went to seeing as all of my friends were married decades ago.
We whooped it up though, countless dance clubs, irresponsible drinking , poor behavior. 
This bachelorette party is nothing like that. It is going to be a civilized trip to the casino to play bingo. Is that what they are doing now days?!?
Lauren asked me to make cupcakes for the party which will be given at the end of the night as favors. 
I feel I have to bring some of what I know about bachelorette parties into the theme of these cupcakes.
Bright colors, zebra print and pretty drinks!
I couldn't go too overboard so I decided to make some zebra print fondant hearts.
I thought I would share these with you because not only are they fun and funky, they are easy and can be used with so many different themes.

You will need white fondant, black fondant , a sharp blade to cut the fondant and a heart shape cutter.

First roll out your white fondant, then your black.

With your blade cut thin waves in the black fondant, then cut those in short segments.


Place the black pieces randomly all over your white fondant keeping a zebra's stripes in mind. Place them pretty close together.


Press them gently into the white fondant.


Cut your hearts out and allow them to dry.


I iced these cupcakes in bright pink and made some drinks to go with the hearts.


Back in my day we would have needed 6 of these for each guest to stuff in her face on the limo ride home in lieu of a meal. This party...each guest will receive just one.


Times sure have changed, cheers to responsible bacheloretting !


Monday, March 24, 2014

Giant Cupcake Tutorial

Early in my blogging days I posted a giant cupcake tutorial. It was all buttercream with rosettes decorating the top of the cupcake.
Now I will take on a giant cupcake covered in fondant.
I love the look of the cupcake cakes and was elated when one of my friends chose cupcakes as a theme for her daughters birthday party. This cake is perfect!!!

I start out by making the 'wrapper'.
Melt 1 bag of Wilton candy melts in the microwave. For this cake I tinted my white melts with blue food coloring.
The Wilton Cupcake Pan came with a plastic insert / dust cover when I purchased it and
I use that to make my wrapper but you can just use the pan if you no longer have your insert.
I pour all of the melted chocolate into the bottom and them roll it from side to side to evenly coat the sides.
As the candy melts start to firm up a little I use a spoon to pull and push it around so it gets in all the nooks and crannies.
Once you have it covered, stick it in the freezer for about 15 minutes.
Take it out, gently tip it upside down. Your shell should slide out so be ready to catch it.
If it doesn't , you can pull the plastic away to break any attached pieces preventing the wrapper from releasing.


For the cake, use your favorite dense cake recipe and bake in a giant cupcake pan. I use the Wilton Dimensions Giant Cupcake Pan.

Level the top of your cupcake base so that is sits just below the top of the wrapper when you set it in.
Once it is level, remove it and ice with a thin coat of buttercream.


Not too much icing or it won't fit in the wrapper.
Set cake in the wrapper again and smooth the top with buttercream.

The top of the cupcake is the fun part.
Place the top on a cake board and use a poly dowel in the cupcake base for support so the weight of the cake and fondant don't crush the wrapper.

Ice the top with a thin coat of buttercream.


Roll a long fondant rope.


Swirl on the top of the cupcake to create the contour


Lay fondant over the top and smooth over the contours with your hands.


Trim the bottom and place on top of your base.


I added a little color to the top with a sloppy circle of purple fondant.


I also rolled the edges under to make it look like drips.


This cake need some sprinkles.
To make these I piped different color ropes of fondant through my clay extruder.


Cut the ropes to random sizes and attach to cupcake with water.


Last step... roll a ball of red fondant , and add a cherry on top.


Very fast, very easy, VERY fun cake!


Monday, March 10, 2014

It's THAT Time of Year!

It's give away time!
Your getting a Craftsy class, and your getting a Craftsy class, and your getting a Craftsy class....
Well, actually, just one of you will be, I may not be Oprah, but I do love to give things away.
Usually it's my advice ( unsolicited ) but this time it's a Craftsy Class!

I LOVE Craftsy, I watch the videos after everyone has gone to bed, and even if I don't have a cake and all the tools in front of me, I gather all the info I need for when I do.
They have great beginner - advanced techniques and the classes are presented beautifully!

This class is my exclusive give away, other affiliates will be giving away other classes, this is the one I chose for you.
It is a class in advanced fondant techniques taught by Marina Sousa that I took and loved.
It is a great boost to anyone who has taken a Wilton class or any beginner that is looking to take their decorating up a notch. Even for someone who has a lot of experience, it taught me a few tips and tricks that I use all the time now. Proof you can teach an old dog new tricks.

So, to enter is easy.
Just click the link

Enter to win a Craftsy class!

That's it....no purchase required, no essay writing. Just click to enter the giveaway.
At the end of the month Craftsy will use  Random.org to choose a number, and the entrant that corresponds to that number will be the winner.

If you are that lucky person Craftsy will email you a link to your class when the contest closes and the winner has been determined.

Please get all your entries in early, drawing will take place March 31, 2014.

While you are entering my give away , take a minute to cruise Craftsy and see all the great classes they have. If you are like me, your cart will be runneth over in no time.

Enjoy!


Thursday, February 27, 2014

Mermaid Cake Tutorial

I live in the best neighborhood.
You know how normally you have that one neighbor that you just can't tolerate?
Not here...everyone is great!
Every February one of my neighbors asks me to make her daughters birthday cake.
This year she picked a mermaid/sea theme with a large starfish for the top of her cake.


For years fondant ruled the cake scene but now buttercream is making a big come back.
Buttercream may not be as versatile in my opinion, but there is something wonderful about it.
Back before fondant was big, buttercream was just buttercream. Now the key is to make the buttercream look like fondant.
It's not as hard as you might think.
Before I get started with the decorating tutorial I will show you how I get smooth buttercream.

After my cakes settle, I pipe buttercream on the top of my cake first. Circle the top, make sure it goes right to the edge.

Next pipe buttercream around the cake sides.

To smooth this I dip my spatula in a mug of boiling hot water.


First I smooth the top of the cake.
Next, hold the spatula straight up and down, make sure you have it perfectly straight...no leaning of it will taper your cake.
While holding the spatula with one hand, spin your cake on the turntable with the other hand.

You may have to stop a few times to wipe off the spatula and dunk it again in the boiling water.

After the first time around, I dip my spatula again in the water and give it a final smooth.


To level the top, scrape towards the middle of the cake.


Once you have the top level, allow the cake to sit a few minutes and let the buttercream firm up a little.


Once my buttercream crusts slightly I use Viva paper towels and my spatula to smooth out any imperfections.


O.K.
On to the decorating.
This cake is for a 15 year old so using Ariel from the Little Mermaid would not work.

I used a 8 inch 2 layer cake for the bottom tier and a 6 inch 2 layer cake for the top tier.
The bottom tier is my mermaid tier.
To decorate this I mixed up 3 shades of aqua fondant and a small batch of light purple.
With my 1 inch round cutter I cut circles in every color.
Start placing these around the bottom of the cake in a random color pattern.


Offset your circles for the next row and work your way evenly to the top.


Once I had my circles all in place I brushed them with some Wilton pearl dust to give them some mermaid shimmer. I wish you could see how pretty these sparkled in this photo.


Insert some poly dowels for support, and put a dab of buttercream on top to glue the top tier on.

Here is the tedious part ( and you thought it was placing all those circles ;)
Roll a strip of each of the shades of aqua fondant you used to make the circles ( scales) .
Using 3 different size circle cutters, cut a lot of circles and roll these into balls.
I used a round Wilton tip, a drinking straw, and the wide end of the Wilton tip for mine.


Start with the largest balls and work your way to the smallest as you go.


Keep them in a random pattern to look like bubbles.

Here is my finished mermaid / sea themed cake.


Tuesday, February 11, 2014

WWE Cake Tutorial

Let's get ready to rumble!
My first try at a WWE themed cake. When I got the request I had the deer in the headlights look.There really isn't much out there in  the way of cake and cupcake decor with the WWE theme. 
It's actually quite surprising based on how popular it is.
At the last minute I decided to make a cake that looked like the ring.

For the cake I baked 3  - 8 inch square cakes.
I filled and stacked these before letting them settle overnight.
While those were settling I made the posts out of poly dowels covered with black fondant.


For the ropes I used bucatini pasta painted with red food color.
First I tried licorice laces, then I tried wooden shish kebob skewers. Trial and error brought me to the bucatini which worked perfect!
Paint these and allow them to dry along with the posts.


I made the # 12 using the WWE RAW font on dafont. Make this at least 2 days in advance so it will be nice and stiff when it comes time to stick the numbers on top of the cake.( I didn' t get a photo of this but you can see it in the final photo.)
I admit, I have an obsession with John Cena and I'd LOVE a little sugar version of him on this cake. Unfortunately this was a last minute order so I opted to use a number topper to populate the ring.

In the morning I iced the cake using black fondant over vanilla buttercream.


I covered the top of the cake with a square of white fondant.
I printed a WWE logo with my edible image printer for the center of the ring.


I had planned on drawing it on the mat with edible pens, which if you do not have an edible image printer , will work beautifully.


Using the same WWE Raw font I made a template to cut out the " Raw" logo and the name. I cut everything in reverse so I can just wet the backs and stick to the cake. Then all I have to do is peel the wax paper off and my accents don't stretch or tear.


I attached these to the sides with water.


I cut circles of black fondant with a large drinking straw.


Attach evenly to posts and insert the painted bucatini.


Next I stuck a post to each corner of the cake with some water.
Insert the  # 12 topper and it's done.

All ready to rumble!