Tuesday, January 29, 2013

20 Tips for a Perfect Cake

Even if you are a home baker, making a box cake with canned frosting, you can make that cake look professional with the right technique.
In the cake world you will encounter a lot of  ' cake snobs'  who won't help, who feel if you don't know how to do a certain technique then you shouldn't be decorating at all. I could go on.
Fortunately, I have encountered some wonderful decorators who are more than willing to share their experience and knowledge.

You can take the Wilton Method Courses, and they are a great start, but you will need to expand from there if you plan on designing and decorating for more than a hobby.
Many of these tips I learned on accident, some I brainstormed and did the trial and error method, and others were great words of advice given by other decorators. 

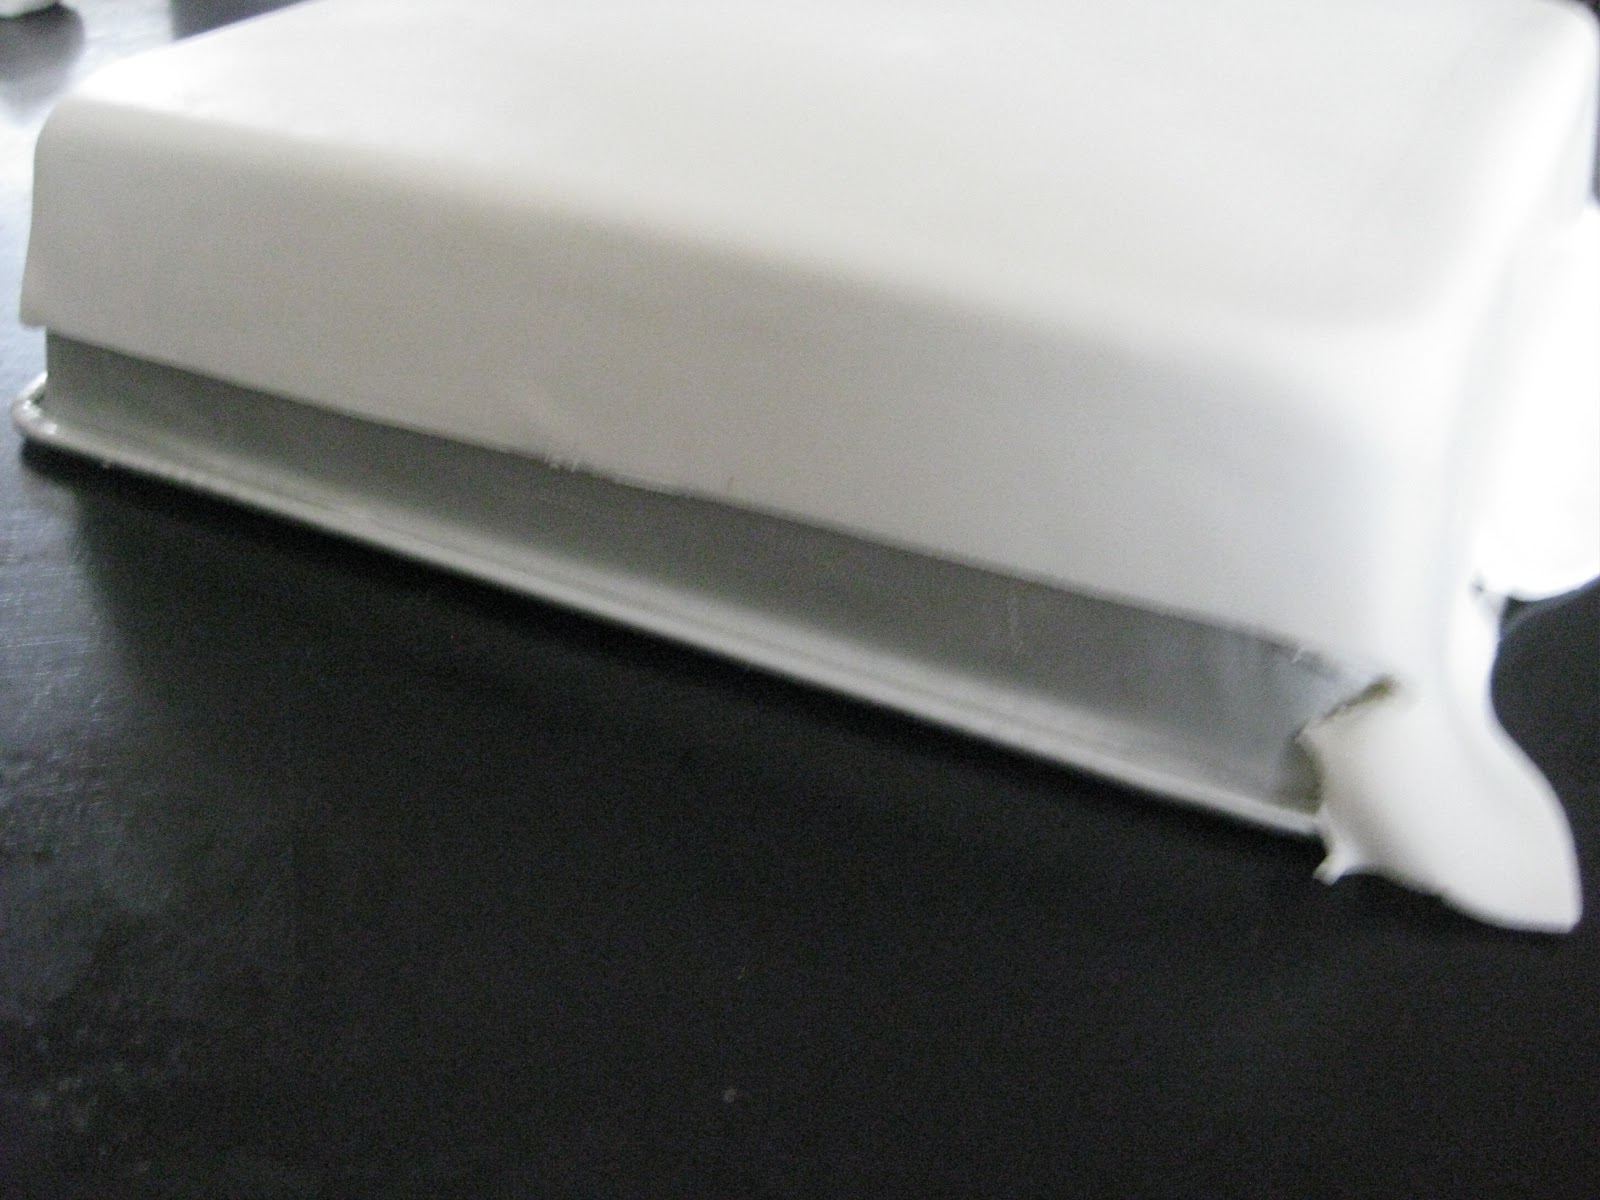
1. Prevent your cake from sticking to the pan by lining the pan with parchment paper and lightly greasing the sides.

2. If you are baking a cake larger than 8 inches put a flower nail in the center of the pan before pouring in the batter. This will conduct the heat and cook the middle of the cake even with the sides. 
Here is a link if you are unfamiliar with what a flower nail is.

3. Bake even strips, I swear by them. Soak them in water, wrap around you cake pan , and you will have nice flat cake tops with very little to level.

4. Once your pans are filled, gently tap then on the counter. You will begin to see the air bubbles rise to the surface and pop. This will give you a nice dense cake without air pockets.

5. If you will be filling your cake it's important to make a stiff dam of icing between layers.  I use buttercream that is still enough I can roll it into a rope with my hands and place on the cake 1/2 an inch in from the edge. The weight of the cake and icing will squeeze this to the edge.

6. After my cakes are filled I let them settle , wrapped in Saran wrap overnight. If I am in a hurry I will place a heavy book or ceramic tile the size of the cake , on top of the cake to push the air out more rapidly. I let that set about 3- 4 hrs before icing the cake. This is an important step in avoiding blowouts.

7. I put a thin layer of buttercream on my cake, then place it in the refrigerator for a few minutes to firm up before putting on my thick coat of icing.

8. To get my cakes iced even I ice the top first, then the sides. I use a dough scraper just like this one: 
held at a 90 degree angle while I spin my turntable to get a smooth finish on the sides.
Once that is done I measure the lowest point on my cake. I cut a piece of paper to that height. Then I work around the cake , smoothing the icing on the top all the way around to that height.

9. I use the Viva paper towel method for my final smoothing. Once your buttercream has crusted , take a piece of paper towel that has no print or impressions, such a VIVA , and place on the cake. Smooth over the towel with a large spatula. 

10. Fondant is a close relative to Spandex. It is unforgiving and will show every bulge and dimple. Make sure your buttercream is smooth before applying fondant.

11. Fondant picks up lint so microscopic you can't even see it until it's in there. It's amazing how much lint it can pick up also. When I am working with fondant I wear a short sleeve, cotton kitchen jacket like this one:  Chef Works White Short-Sleeve Chef Coat, Medium (Google Affiliate Ad)
A sweater would be the demise of your fondant...trust me!

12. If you apply your fondant and you get an air bubble, do not panic. Get a small sterile hat pin and poke a hole in it and gently press the air out. Once the air is out the pinhole can be covered by a decoration or smooth it over by rubbing in a small amount of vegetable shortening.

13. If your fondant gets a small tear in it, pull the sides together and smooth closed with vegetable shortening. This only works with small tears, large ones should be redone.

To do this insert one end into your cake, mark on your dowel where to cut. Remove the dowel and cut as many as you need to the same height. Then, insert them into the cake. ****Do not trim your dowels while they are in the cake. If your cake top is uneven, your dowels will be uneven and you risk having a cakeslide. Dowels need to all be the same height.

15. Floral wire is not food safe. If you make any decor on wires the wire must not touch the cake. I use cocktail straws. Insert your floral wire into the cocktail straw, this will act as a sheath, trim and insert into the cake,

16. If you have filled your cake with a custard or another perishable filling that needs refrigeration and you have covered it in fondant it can be refrigerated. To do this adjust your moisture level in your refrigerator to the lowest level. Put the cake in a box, wrap the box with saran. Remove from the refrigerator and unwrap saran at least an hour before delivering or serving to bring it back to room temperature. Do not touch the cake until any and all condensation has evaporated. 

17. Cake disasters happen...I had one happen last fall. I went to bed and my snake cake was stacked and sitting in it's box. Fortunately I woke up early and wanted to take a peek at my work ( I wasn't happy with the way it had come out and was still thinking of how to make it look better ) . I was horrified when I looked in the box.
This :

Looked like this:


I should have taken a picture of it while it was still in the box, it completely separated in the middle, slid due to lack of proper support, and smashed into the side of the cake box. 
I ended up having to strip off all the fondant, re-carve the head to fix damage, re-stack with proper support, recover with fondant and paint. Fortunately I discovered this early and had time to fix it. Always allow yourself enough time before delivery to fix any disasters. If you wait until the last minute to finish your cake you may end up in a bad situation. Also, do not cut corners. I figured that it was a light, small top tier that I could get away without any support. I wanted it to kind of sink in to the bottom tier to create a more coiled effect. It didn't sink, it slid, right off the cake . Horror! 
Do not skimp on support!

18. Always make extra flowers and gumpaste decor. These are delicate and break easily. Don't come up short, if you have left overs , I keep mine in the plastic clam shells that the strawberries come in. They have vents in the sides and work great for storing gumpaste accents. Use them on another cake, last minute orders get what I have on my left over shelf.

19. To make items look metallic mix pearl dust with a little bit of vodka and paint. Wilton Gold Pearl Decorating Dust (Google Affiliate Ad) . Sometimes I use a few coats, but they come out looking perfect.

20. Have fun with it. Don't be afraid to mess up.  Accidents make some of the best new techniques.

You may see your flaws, but other non-cake people, will not. I guarantee it!
The simplest cakes are often times the best so don't feel the need to go overboard. 

If you have any tips you would like to share , please do in the comment section. 
I am always learning and would love to hear what others have discovered.

Enjoy!


Thursday, January 24, 2013

A LOVE -ly Cake for Valentines Day

Valentine's Day is coming!

I have always loved Valentine's Day because it breaks up the winter doldrums and it gives me an excuse to eat a ridiculous amount of chocolate.
Sometimes, the men in this house forget Valentine's Day, this year that isn't going to happen.
I decided to make a new display cake, just as a little reminder of the big day .

This cake can be made with the basics, no fancy flower cutters or tools. 
What you will need that you may not have is a food grade stencil similar to these.


I used a Damask stencil, you can use anything you like.

All you need is a stencil, a set of round biscuit cutters, a ball tool, and a foam pad.


I stenciled my cake first. You can stencil on either buttercream, or fondant.
 I prefer fondant. 
You will need some thinned buttercream in the color you want your design to be.
I chose pink.
Secure your stencil to your cake with sterile hat pins. You will want your stencil to be taught against the side of your cake. ( I used tape in this video only because it's a dummy cake).
With a spatula or knife smooth the thinned buttercream over your stencil.
Wipe your tool clean and scrape off the excess buttercream.
Remove pins and very gently lift stencil off of your cake. 
Cake stenciling takes a little practice so I recommend trying this on a test cake until you are comfortable .


I apologize for any background noise, someday I will figure out how to add music...for now it's rambunctious 3 year old noise.


Isn't she lovely?


Once you have your stencil around your cake it's time to make a flower.

This is all you will need to make a very simple rose:


Mix the ball of white gumpaste into your fondant until smooth and blended and roll out to 1/8 inch thick.
Use each of the round cutters and cut 7 circles of each size.


With your ball tool, frill the edge of the circles.


Once you have them frilled link them all together with a dab of water on the back, smallest to largest.

Ready for the easiest rose ever? 
Roll up your circles, starting at the small end.


I decided to accent my cake with some black , double sided , satin ribbon. When using a ribbon on a cake I attach a thin strip of wax paper to the back to prevent it from picking up any grease stains from the buttercream.
I used the black ribbon as my bottom border and also as an accent bow on the top of the cake. 
I made one of my messy loop bows by just bunching up the ribbon and setting the flower on it to anchor the middle to the cake.


You could stop here, or keep going for a base tier. Seeing as I am trying to drive a hint home, I added a tier.
Again, no fancy tools, just the ones we have already used.

I decided to do a base tier of pink ruffles.  Similar to the way I made my Ombre ruffle cake, only easier.

I rolled out a sheet of pink fondant to 1/8 of an inch thickness. 
Cut that in 1 inch strips.
I dampen the sides of my cake with water to attach the strips to the sides.
Frill the top of your strips with the ball tool just as you did for the rose petals.


Start at the top, with the frill on the top, wrap around your cake. 
Repeat until you reach the bottom.

Use 4 dowels for support, insert into your base cake and set your top cake in place.


I made a little gum paste disc  and used my letter cutters to cut out " LOVE " , just in case I needed to spell it out to my guys .

Even if you are new to cake decorating give this one a try. 
It doesn't require any expensive tools or advanced skills. It can be made with only basic materials.
Fun to make and a chance to WOW your Valentine!


P.S. Brandon, if you are reading this and have no idea what I'd like for Valentines Day I'm going to make it easy for you this year...I want this!


It drives me crazy having to constantly scrape the bowl while I'm whipping up buttercream.    It's a beater, with a bowl scraper all in one. GENIUS!!


Sunday, January 13, 2013

Baby Doll Cake

I kick off all the wonderful madness of 2013 with a challenge.
A Birthday cake for my cousin's sweet little girl who loves baby dolls. At first I knew exactly what I was going to make.
Then my brain took over.
I was planning on using the Wilton 3D bear pan and making a sitting baby doll in a diaper. Then the thought of cutting into a baby put me off.
This is where it gets tricky, a baby cake that doesn't look like a baby shower cake. When I tell you I searched the web for 3 weeks looking for ideas, that is no joke.

Finally I saw the perfect cake. It is a design by Leslea Matsis where she uses a teddy bear in a box.  Perfect, a BABY in a box!

My next step was to watch Sharon Zambito's DVD on Boxes and Bows to figure out how to make it happen. I've had the DVD for months and had a reason to sit down and watch it finally. If you are in the early stages of cake decorating I highly recommend her videos. She gives wonderful step by step demonstrations of the most popular techniques and styles.

I started on Sunday, 1 week before delivery.  First I made the box top.
I took the pan I was going to bake the cakes in, flipped it upside down, covered the top in cornstarch and greased the sides. Then I rolled out gum paste, pure gum paste to about 1/4 inch thick and covered the pan.
 I smoothed it as if I was putting fondant on a cake.
Then I took a ruler and trimmed the sides to 1 inch .

Let this dry for 2 days and then gently slide off the cake pan. Allow another day or 2 for the air to dry out the inside.

Once it is dry you may add your bow, or whatever you choose to decorate the lid with.

I needed some baby accessories. I decided on some diaper pins, a teddy bear and a rattle.
I used a mold for the diaper pins that I found on ETSY.  These need to be done in advance also if you are planning to add them to your cake. They need a bit of drying time.
The teddy bear I made from a tutorial I found on Youtube. The rattle is a cake pop stick with a ball of gumpaste on each end and decorated with fondant. ( see photo of finished cake )

Now for the baby, I had no idea how I was going to do this I decided on a core of Rice Krispy treat that I rolled into a ball and inserted a dowel.
Then I covered the RKT ball with some buttercream and a generous layer of flesh colored fondant/ gumpaste mix.

I used my ball tool to add nostrils to a  small ball of  fondant I rolled and squished a bit for a nose.

I  also rolled 2 more balls of fondant for ears.  With a little gum glue I stuck them to the doll head.


I used my Wilton oval cutters to make some eyes.


Next I  drew on an eye lid with a superfine Wilton marker.


Finally I rolled a small log of brown fondant, flattened the end and gently drew some " strands of hair" on it with my Exacto knife and added a bow.


For the pacifier I used the largest oval cutter and cut out a mix of gumpaste and fondant for the base, rolled a ball and attached it to that , then rolled a rope and used it to make the ring. All attached with gum glue.


I chose to use 8 inch square pans for this cake based on the number of servings I needed.  The box consists of 2 layers of vanilla cake, and 2 layers of chocolate cake. A Wilton separator plate is used to separate the 2 cakes so they can be unstacked and served.

The great thing about the box cake is you don't have to get your buttercream perfectly smooth. The fondant side panels will cover any imperfections.

Once your cake is stacked and iced, measure the width. Find your widest point and record that. Next measure the height and add on 1/4 inch.
Make a template on computer paper of the width and height you will need each side to be.
Roll out a mix of gumpaste and fondant. I used about a 80/20 ratio rolled to about 1/4 of an inch thick.
Lay your computer paper template on the rolled out fondant, Cut out 4 sides for your box and let dry. It took mine a full 24 hrs .


To attach these the cake melt some chocolate. I used white chocolate. Also, mix up some buttercream the same color as your box.
Dot the side of your cake with white chocolate and press the panels onto the box.
Once in place, spackle the corners of your box with the buttercream .

Decorate as you choose. I chose to make some stripes in " baby" colors and a bow for the top.


I draped in a baby blanket to cover the top of the cake that I made from just a piece of fondant rolled out to 1/8 of an inch thick.

I made a platform that resembled the tops of shoulders out of fondant rolled into a chunky log to set the baby doll head on.


Next I rolled out 2 equal logs of flesh colored fondant , flattened the ends slightly and cut 4 slits with my Exacto knife to make fingers. With my hands I rolled the attached strips I had just cut into rounded fingers.
Attach both arms to the sides of the chunky fondant " shoulders"  in your box.


At the last minute I decided to make a bib.
I rolled out some white fondant and used the lid to my 5lb bucket of Satin Ice as a template to cut a rounded bib. I attached some " strings" made of fondant.
For the bib trim I used my FMM scalloped cutter to cut out some pink fondant and attached it with gum glue to the backside of the bib.
Set that in place and you are done!
( Sorry I dont' have many photos from this, it was VERY late at night and I was really wishing I was in bed :)

Once all that was done I decorated the cake board.

Finally, after a week of preparation it's done, and hopefully I captured Birthday and not Baby Shower.


Off to deliver!

Thanks for reading and if you would like more detailed instructions on this cake please don't hesitate to ask.

~ Melanie


Tuesday, January 1, 2013

A Few Of My Favorite Things


Happy New Year ! 

2012 was a great one and I'm hoping 2013 is even better. 
In one years time I went from making approximately 8-10 cakes a year to 52 !!! That would be 1 each week except it doesn't work that way for me. Some weeks I'll have 3 or 4, and then I won't have a single cake for a month. 

This year also ushered in the cupcake for me. Who knew those little things could be so much fun?!? 

2012 also was the year of the cake pop. I have nothing more to say about those .

With the increased workload I also was pushed to discover new cake gadgets, accessories and must haves. 
As did Oprah, so will I , share my favorite cake tools and must haves. 
Unfortunately I do not have Oprah money so I will not be giving all of these away as gifts but if I could, I would. 

The following are my Favorite Things of 2012 and a great list to build a hobby or a home business as I have done.

#1 is my Kitchen Aid 6 qt mixer. Just the right size for large batches of icing and batter.


...and to go with it I have recently discovered this wonderful attachment that scrapes the sides of the bowl while it whips up your buttercream. I am quite jealous of my friend who has one , not once did she have to stop whipping and scrape. Definitely adding this to my kitchen collection soon.


All my cakes are baked using parchment paper lined pans, wrapped with a bake even strip.

I cool and store them on a stacking cooling rack which I have found to be a great space saver when I am making more than 1 cake.


Once they are cool, it's time to level.  The most frustrating task used to be leveling and torting the cakes. I am from the school of the Wilton wire leveler. The wire would catch and tear the cakes. Counting the little lines to match up the sides became impossible with my aging eyes. It was a splurge but I finally bought an Agbay cake leveler. If you are serious about cake, this is a gem!

I used to use the re-usable decorating bags for everything. This year I had to speed up my process, and cleaning all those reusable bags was cut from the program. Being able to use and toss these has been great.
  

I do still use a reusable bag fitted with a cake icer tip to ice my cakes. I'm always scared I'll split one of the disposable bags.


I put them on a turntable and let them spin. 


Once the icing is on, I have found a bench scraper to be a wonderful smoothing tool!


Most of my cakes are 2 tier or more. Stacking and support is VERY important. I was using cardboard cake boards and wooden dowels. This year I switched to plastic separator plates and plastic dowels and LOVE them. Much more support than the old method.


Fondant, everyone seems to want fondant now days. 
My go to fondant is Satin Ice. I have found it to be wonderful to work with, and tastes better than most.


Rolling it was an intense work out until I bought The Mat. This is one tool I could not live without.

When it comes to decorating I try to avoid flowers ( I just don't have the patience ) . But when they are unavoidable I couldn't do it without my assortment of flower cutters ( the photo is just 1 of thousands out there), gum paste tool kit, stamens, 26 gauge wire , floral tape and drying rack.


Borders and designs! I used to spend hours rolling little fondant balls for borders. Until I found First Impressions silicone molds. I used the large bead one all the time! My clay extruder has been a great tool for both of these tasks also.


My new best friends are cupcakes! To get started the Wilton Cupcake Kit has been wonderful and includes every tip I have needed so far. Filled cupcakes are very popular, a cupcake corer makes it a simple task.
         

Packaging was something I had never explored until last year. I was fortunate to find great cupcake packaging that I can also reuse. These Cupcake Containers make transporting a breeze!

Of course you will need some pan sets. I buy 2 of everything to cut down my baking time. I also only use 2 inch pans, much better results in my opinion.  

Tips and a tool caddy are also very important and can be built over time. Along with decorating dusts, gel colors, sprinkles in every color.


...and let me not forget the dreaded cake pop. When left with no other choice but to make them, these tools make it easier.


One last thing, it's not necessary, but it's fun!  I finally invested in aprons with some pizazz. On the days I have to drag myself to the kitchen, putting one of these on makes me feel so much better ( and sassy ;) !


All of these things helped make 2012 an epic cake year! 
Thank you for your support and taking the time to read my blog,  email, offer tips, and encouraging words. The cake community rocks !

~ Melanie