I FINALLY have my first request for a Disney princess cake.

Attach these to the cake using water or gum glue.


...and she lived happily ever after.
This is one I have been waiting for, so many ideas, so many princesses, so much fun!
I thought I was ready...
No way was I prepared for this cake.
It is for a 21 year old girl and her father requested all of the princesses be on it.
The catch, it's only supposed to be a 2 tier, 8 and 6 inch cake.
Do you have any idea how many princesses Disney has?! Well let's just say I didn't.


To decorate the bottom tier I decided to pick a princess and theme the tier.
I chose Snow White , not only is she one of my favorites, her outfit was the right color.
I wanted a bold color for the bottom tier so I went with yellow.
I iced and smoothed my 8 inch layer in buttercream.
I chose Snow White , not only is she one of my favorites, her outfit was the right color.
I wanted a bold color for the bottom tier so I went with yellow.
I iced and smoothed my 8 inch layer in buttercream.

Next I rolled out and gently draped yellow fondant over my buttercream. I only smoothed the top 1/4 of the cake and as I did that I allowed the bottom to pleat like a dress.

I used my First Impressions Silicone Drape Mold to make the drapes. Normally I would have just rolled out fondant and made them but I've been pretty curious how this mold would work.
To finish off this tier I rolled out some 1/2 inch thick fondant and with a 1 inch round cutter ( or the backside of a 1A tip ) cut out some round " buttons" to cover where the drapes connect.

Most important step right here...support! I used 5 trimmed poly dowels in this tier.

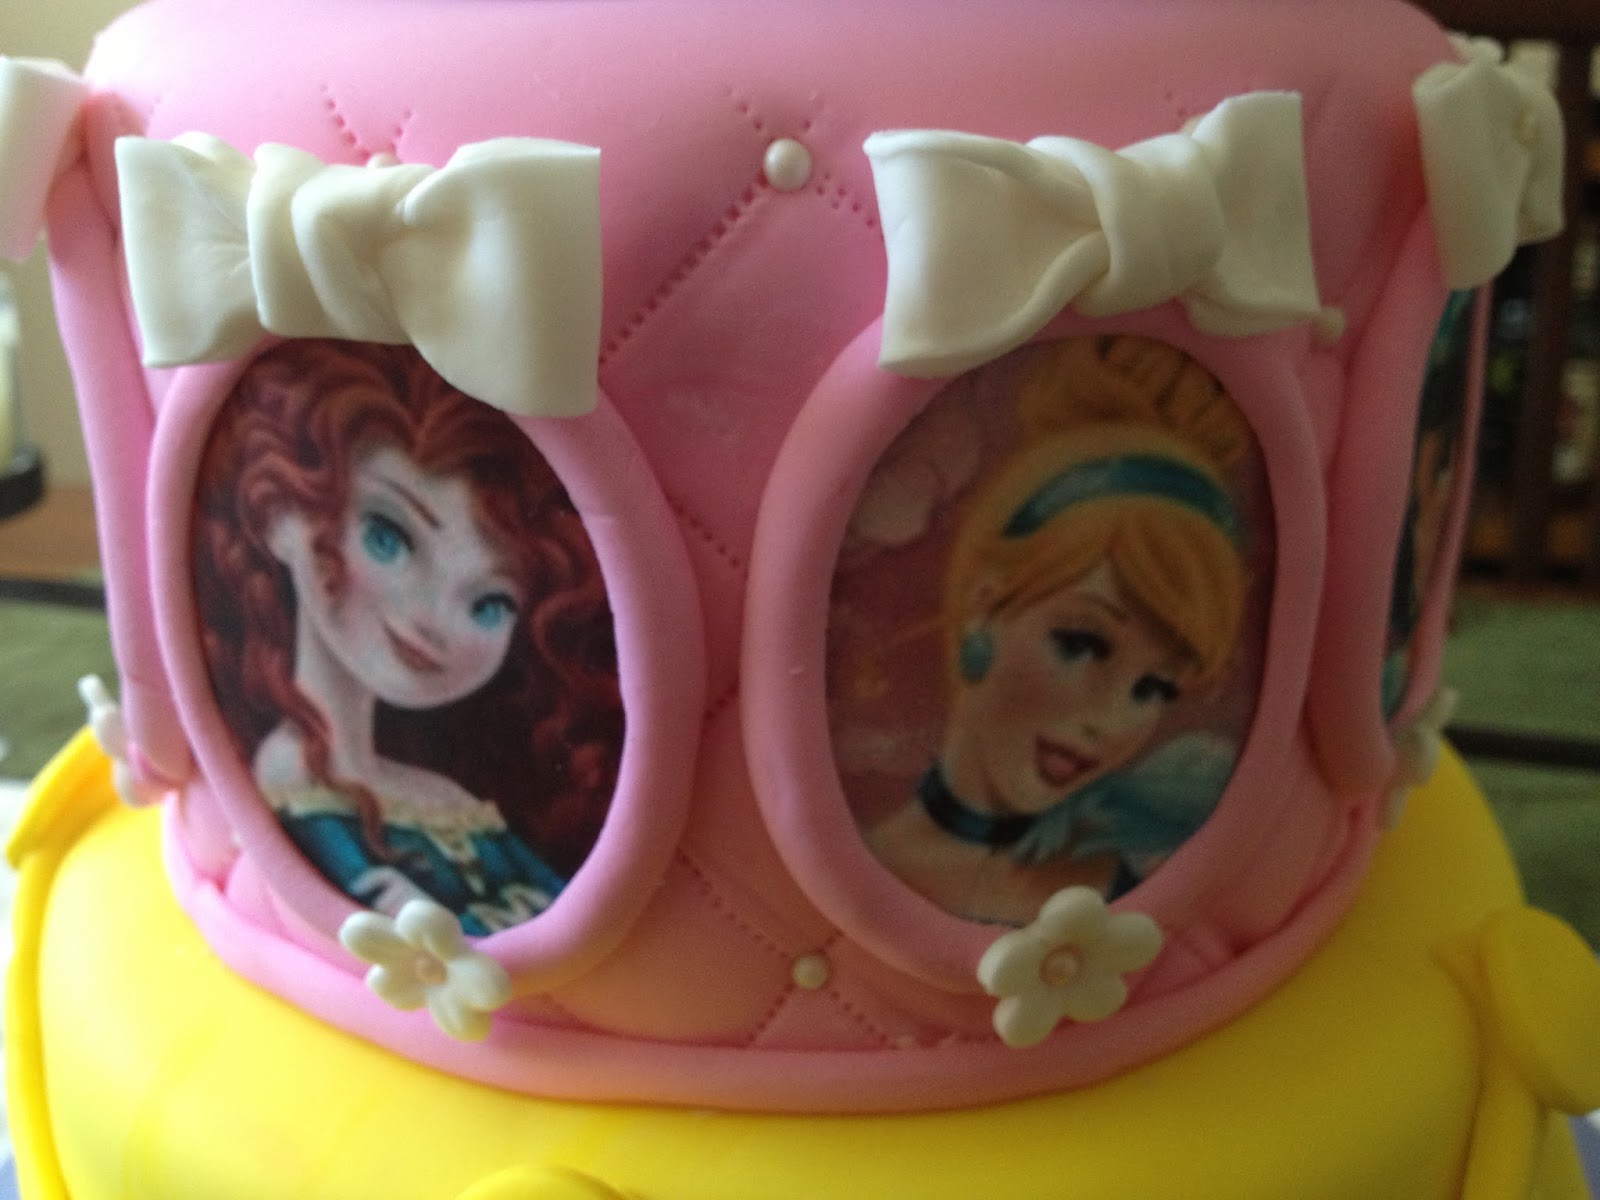
For the next tier I iced the cake in pink fondant and then gave it the quilted look.


I decorated each point with a sugar pearl after stacking on top of my yellow tier.

Next decided to call on my new best friend for this cake, my edible image printer.

To do this I use a diamond impression mat to press into the sides to guide me, then I go over the lines with a PME cutter tool.


Next decided to call on my new best friend for this cake, my edible image printer.
I found an image I liked online that included most of the princesses, I'm sure there are a few missing but by the time I came upon this photo my brain was melting from princess overload.

I cut each one out with my exacto knife first, tracing around my oval cutter. Then I placed my edible images on top of some gumpaste I had rolled out and brushed with a little water.
Press images gently onto gumpaste and then use the oval cutter to cut through the gumpaste .

Attach the princess discs evenly around the cake by wetting the back side with some water.
I piped borders around the picture discs with a clay extruder and decorated each with a small bow and flower for some pizazz.
Standing back and looking at this cake I decided it needed something.
It needed some " WOW!"
Nothing says " WOW!" like another tier and a tiara.
I made the tiara out of gumpaste using my Patchwork Tiara Cutter. It was my first time using the cutter and I LOVE it!
Seeing as this was a last minute accent I used a mixture of 80% gumpaste and 20% fondant so it would firm up really quick.
Seeing as this was a last minute accent I used a mixture of 80% gumpaste and 20% fondant so it would firm up really quick.
I allowed it to dry draped over my bottle of Captain Morgan, it was the perfect size to shape the tiara for a 4 inch top tier.
For the top tier I chose another one of my favorite princesses, Cinderella.
I covered it in blue fondant and used the drape mold again to make white drapes.
On this 4 inch cake I used five 4 1/2 inch strips of pleated fondant for each drape.
On this 4 inch cake I used five 4 1/2 inch strips of pleated fondant for each drape.

Attach these to the cake using water or gum glue.

I decided to use bows between these draped instead of buttons to give it the uber feminine Cinderella look.
Last step, attach the tiara to the top tier using a little melted white chocolate.

No comments:
Post a Comment
Note: Only a member of this blog may post a comment.